how to make a wig with closure and bundles

Preliminary Preparation
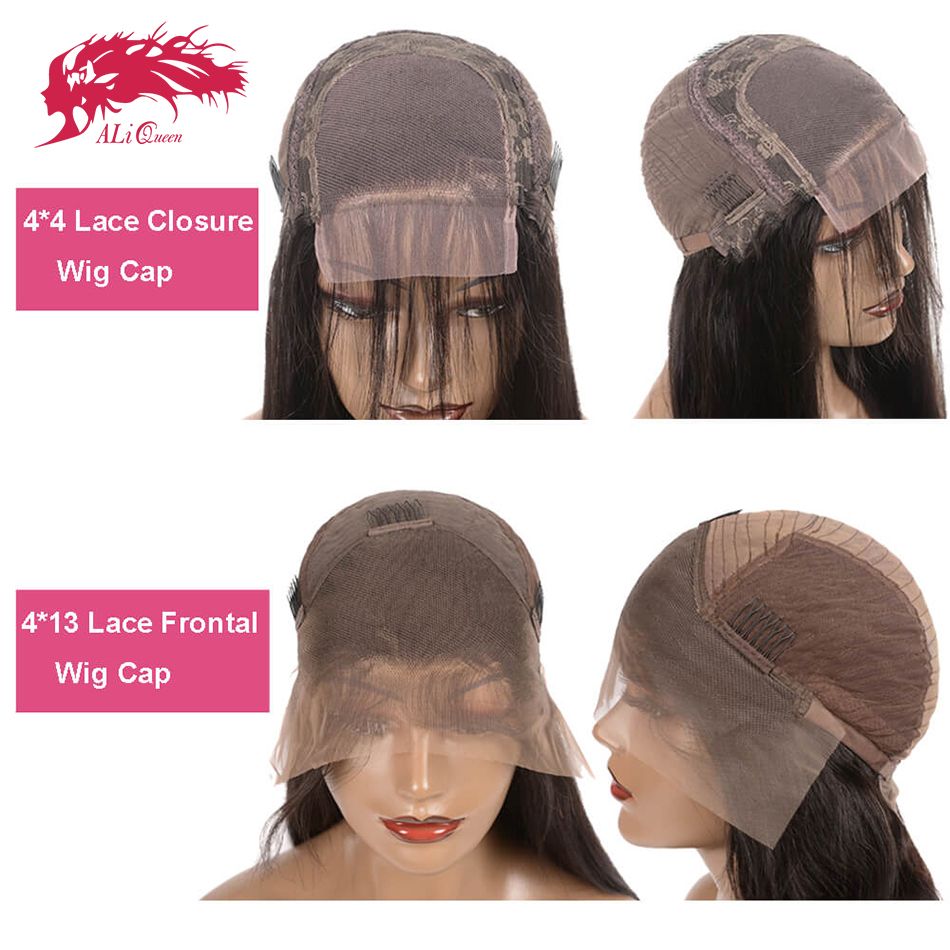
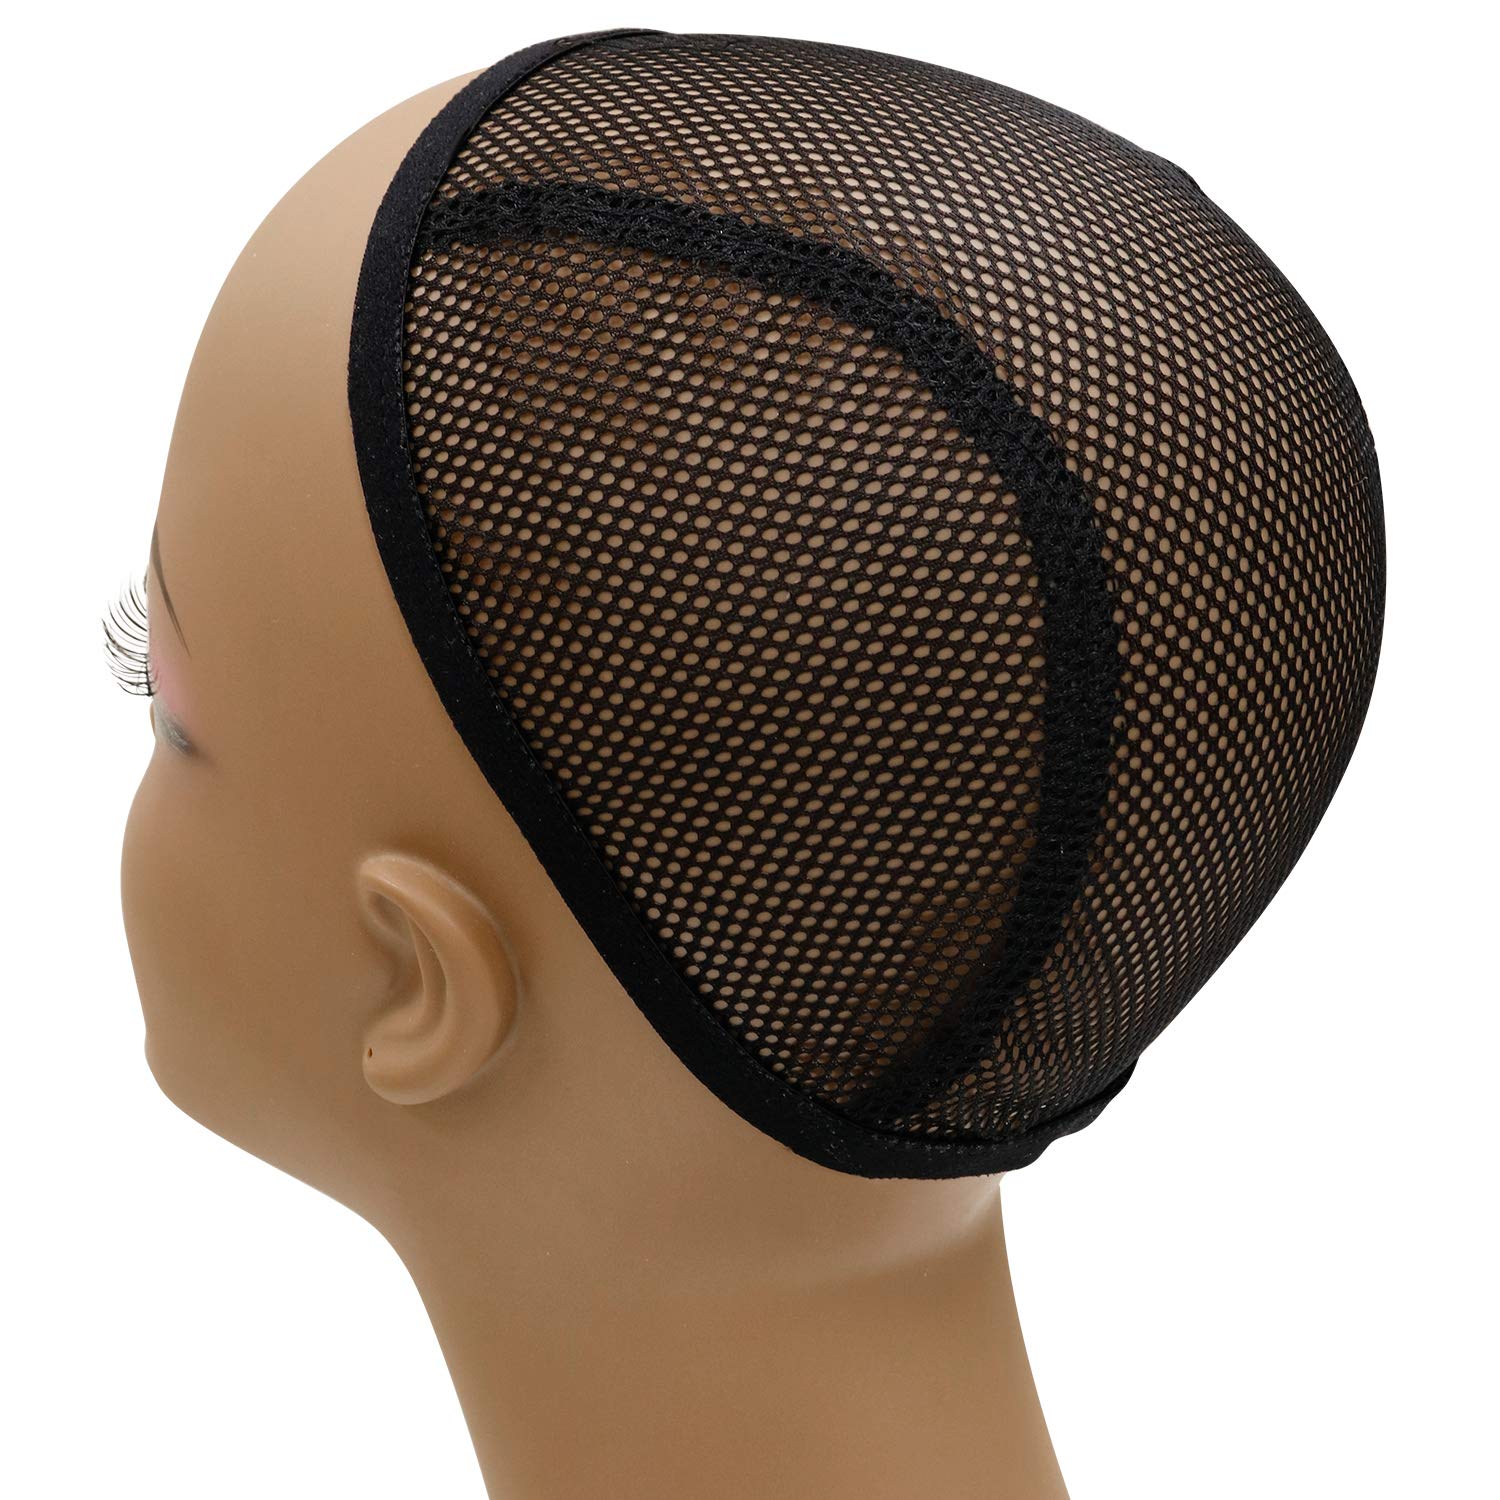
1. Wig Cap
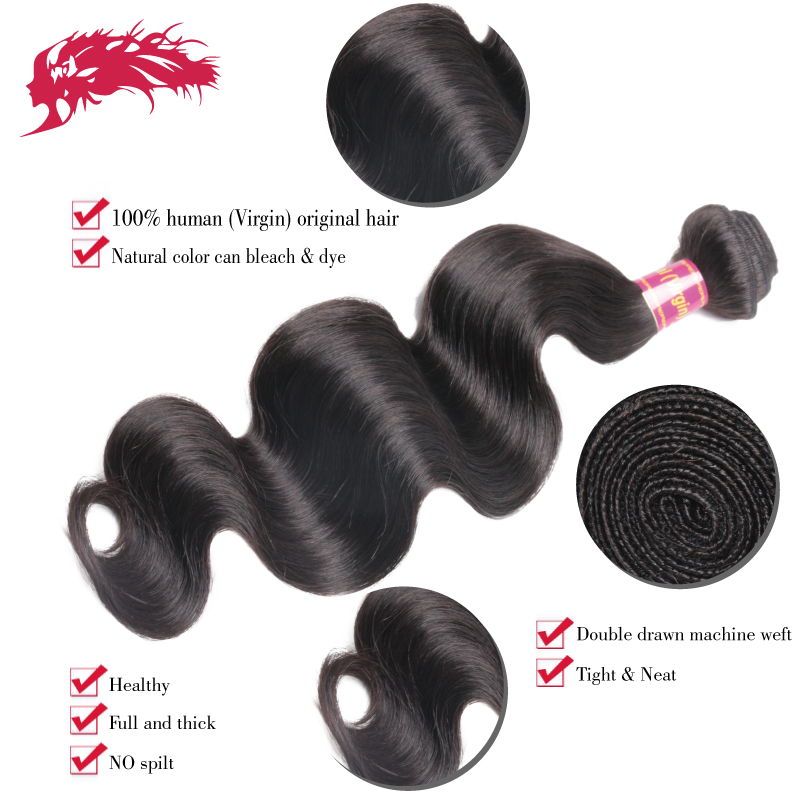
2. Hair Bundles
4. Black Women Head Model
5. Needle And Thread
How To Make A Wig Step By Step?
Step 1: Secure your wig head on the table with tape or on a wig stand. You need to make sure it is stable before you get to making your wig, so as to make the process easier for you.
Step 2: Place wig cap on the mannequin head. Figure out where the front and back of your future wig are going to be.
Step 3: Prepare your hair weaves. Before you sew them onto the cap, measure them. You can pin them down to see how many tracks you are going to need to make your wig. If you have one long track, we recommend you not to cut it up if you want to avoid hair shedding.
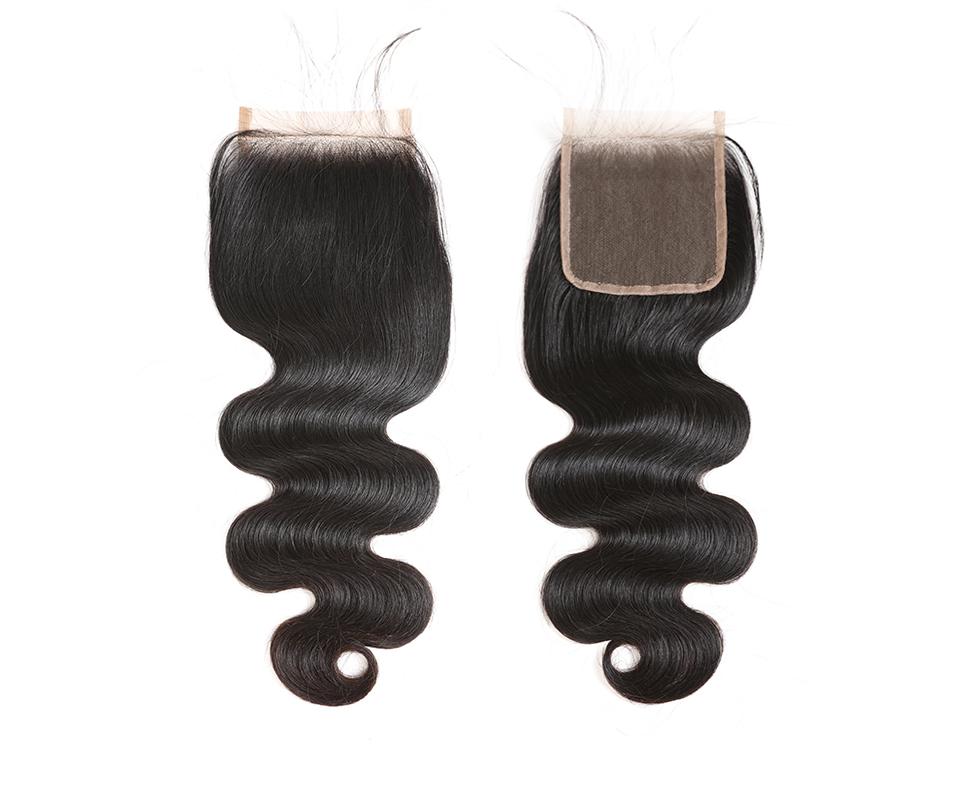
Step 4: Sewing the lace closure into the front of the cap. Begin by securing it with pearl headed pins at the front of the wig cap, then use the needle and thread to sew it all the way around along the edge. Do not forget to make tight knots, especially at the beginning and the end of your stitching to make sure that the lace closure is secure.
Step 5: Take your first track and start sewing it to the wig cap from one edge of your lace closure to the other along the bottom edge of the cap (where the nape of your neck will be). When you get to the edge and you have very little track left, secure it with a knot and cut off the excess track. If it is long enough to go another way around, fold it carefully, press on the fold to avoid bumps and continue sewing in the opposite direction.
Step 6: Once you have sewn all of your tracks all the way to the lace closure, sew the last track to the lace closure. Secure it with a knot and cut off the excess track.
Step 7: Pluck lace closure. Tweeze the hairs in the lace closure to make it look like your real hair.
Step 8: When you are done with the sewing and your wig is starting to look like a wig, take it off the wig head and cut off the excess wig cap that is peeking from under the lace. Make sure you do not cut into the stitching. You can also cut off the excess lace if you want to. Once again, do not cut too close to the hair, or you might ruin the whole thing.
Step 9: Turn your wig inside out ad sew in your wig band and combs. Use the needle and thread to sew the elastic band to the rim of the dome cap, so that it can help you keep your hair on. Depending on how many combs you have, place them on the inside of the cap to add a little extra security to your wig. There should be at least one comb on each side of the head and preferably one at the back.
Step 10: At this step, your wig is pretty much done. You can use some moist hair care products on your wig. If you are satisfied with the way the hair looks, you can leave it at that. If you are not, style your wig until you get the hairstyle you want.
Tip: If you would like to color your hair I highly recommend doing that before constructing your wig.